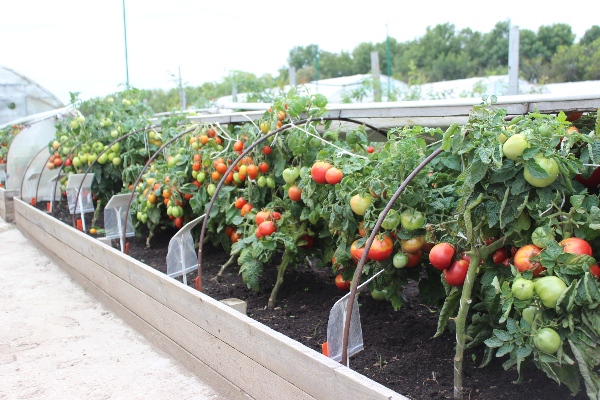
In most parts of Russia, tomatoes are problematic to grow in open ground. A greenhouse is good for adult plants - it produces several times greater yield, besides stretching the collection time. In this review, we consider the designs of home-made greenhouses, the necessary equipment and materials, especially the construction of facilities for growing tomatoes with their own hands.
Table of contents
Can I grow tomatoes in a greenhouse?
Is it a fairly large culture with easily damaged branches in a close structure? The place is not close. Let's go in order.
To germinate seeds organize a moist soil in a warm place, protected from direct sunlight. Feeding with microelements is desirable.
If greenhouses are characterized by forced heating, the greenhouse is heated differently.
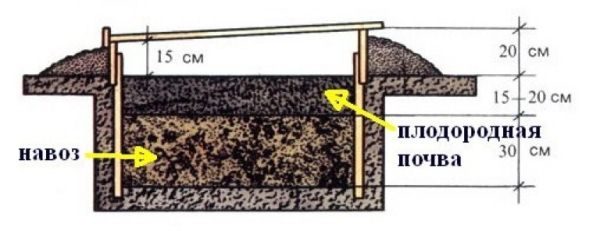
Biological heating is heating with the use of an exothermic process of oxidative rot. This is done like this:
- dig a hole meter depth;
- fill it half layers - straw, then fresh manure, straw is laid on top again;
- on top of this biofuelpiled the earth 25-35 cm;
- on filling put the building, the roof;
- water the soil regularly (heated water - before warming up).
Works biological heating about 60-70 days. Straw and manure can be replaced with another organic mixture.
The greenhouse effect is associated with biological heating, working in tandem with it: carbon dioxide emitted from organic matter is heated by the sun's rays, warming up the soil, at the same time intensifying decay. The saturation of the internal air with carbon dioxide and other gases (ammonia, hydrogen sulfide, methane, etc.), as well as moderately high temperatures accelerate the growth of plants.
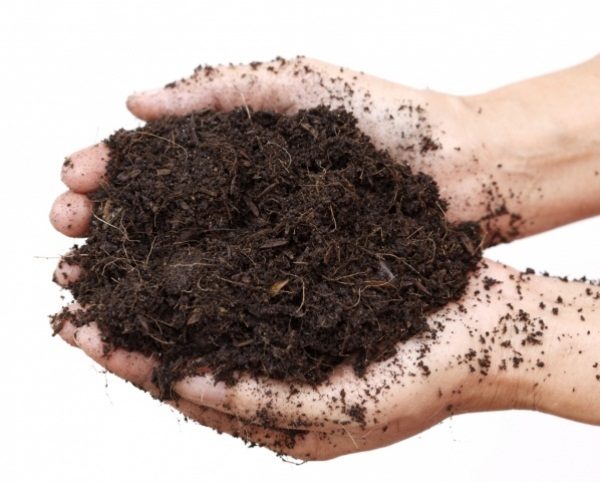
In recent years, instead of commercial organic often use the finished mixture of greenhouse earth. Nevertheless, it is better to put organic waste on the bottom, sprinkling it with a purchased mixture on top.
Light reflectors, various systems of warm greenhouses with artificial heating are also used. This allows you to get a crop in the cold.
Choosing the right place
Avoiding shading, have a structure from east to west. From the north side wind protection, insulation with straw, earthen rampart, old logs, shields made from improvised material.
The tomato loves root respiration, the moisture is not sour soil. The plant is suitable light sandy soil. Sand is poured into heavy ground or light additives are used - perlite, vermiculite.
The soil requires rest or crop rotation (it is impossible to plant a “tomato on a tomato”).
The best soil is the one in which onions, carrots, and plants of the pumpkin family (for example, squash, cucumbers) were grown last year.
Nitrogen fertilizers can not be abused. Instead of the ovaries and fruits get lush tops. The usual greenhouse soil is rich in organic fertilizers and vapors providing an excess of nitrogen. It is balanced by the introduction of other components of plant nutrition.
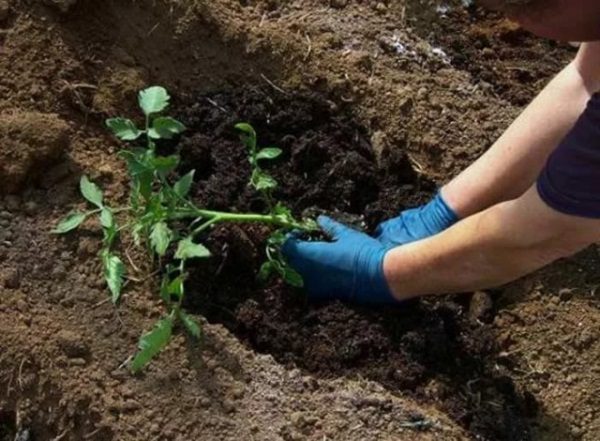
When planting seedlings, you can throw a small fish (source of phosphorus) to the bottom of the hole, sprinkle with ashes (source of potassium and trace elements). Or use superphosphate, potash fertilizers. Later, to accelerate flowering and ovary, also recommend potash fertilizer or ash.
Tomato seedlings are grown separately in a warm room. Then planted in ahead of time prepared, heated greenhouse.The distance between the plants in a row of 30 cm. The tall seedlings are placed in the wells a little to the side, after cutting off the lower leaves, sprinkled with earth, watered abundantly. When water is absorbed, it is equal to dry earth, so that there is no crust and no cracking.
The first 10 days, tomatoes are not watered, and later watered plentifully. For even irrigation, two-liter plastic bottles without a bottom, stuck in the ground with their neck down (between two tomatoes under the root) are convenient. Regularly adding water to them, create a good microclimate, improve the condition of the soil.
It is desirable to mulch the soil. Scatter straw, sawdust, old foliage, pine needles or other material in thin layers on top. Or - expanded clay, perlite.
Types of homemade greenhouses
Suitable for tomatoes conditions: the width of the shelter is at least 1 meter, the height is not less than 0.75 m. Best Landmark Width 3 m and height 1,9 m (at the top).
Designs, as complications:
- film on the ground (tomato does not fit);
- cassette greenhouse (also not suitable);
- warm pit - with sufficient depth, the option is acceptable, but inconvenient - for example, a shower through the PP will flood the pit;
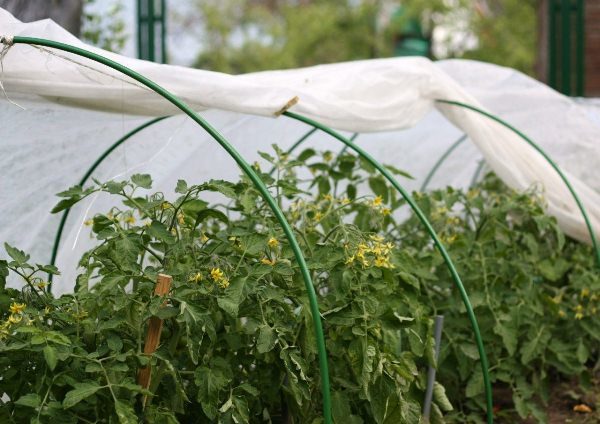
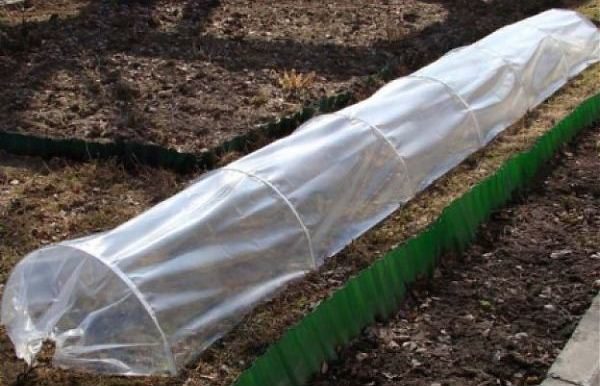
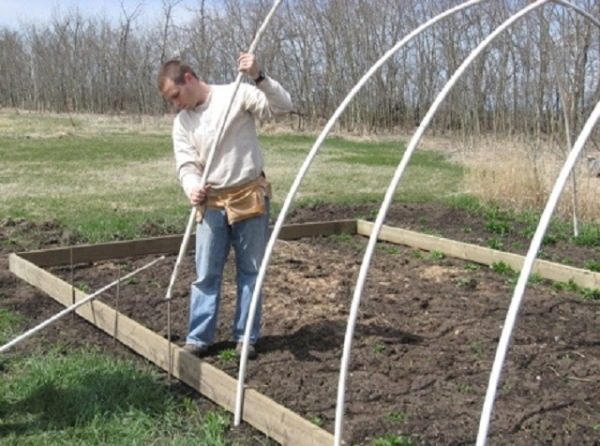
- film tunnel model - plastic, metal or composite arcs of pipes, fittings, on which the film is stretched;
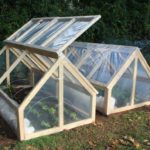
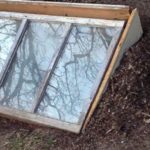
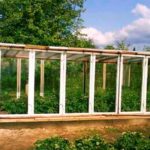
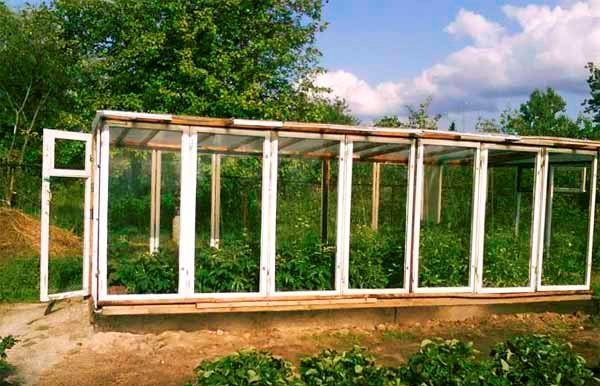
- house - Glazed knocked opening window frames;
- butterfly - outwardly like a house, but knocked out of wood and film;
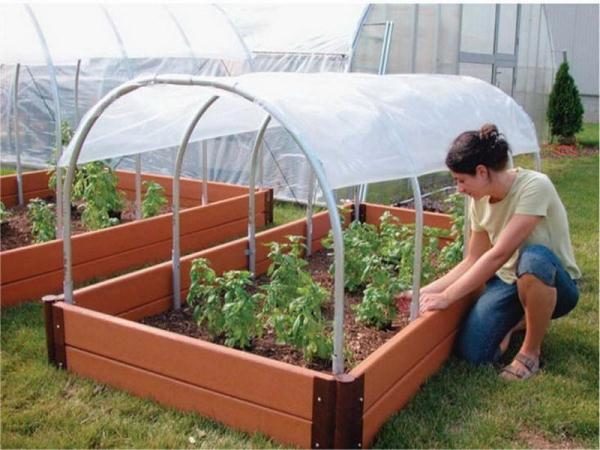
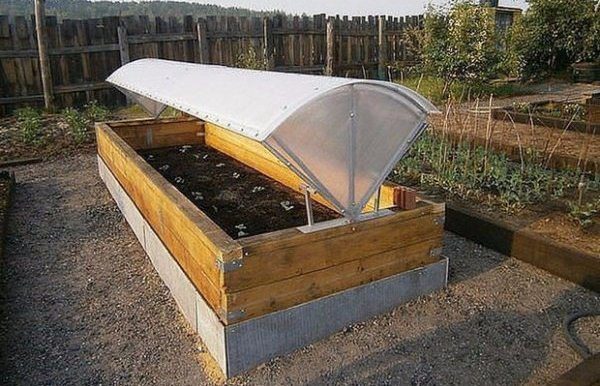
- bulk greenhouse - the same house or butterfly, but the greenhouse pit is not just in the ground, but inside the foundation, sometimes there is also forced heating.
-
- Greenhouse butterfly

-
- Pit greenhouse

-
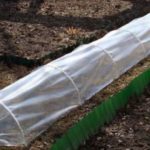
- Film tunnel greenhouse
-
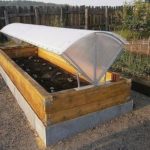
- Bulk greenhouse
-
- House of window frames
Advantages and disadvantages of a homemade design
The main advantage of homemade - they are made almost free of improvised material.
Disadvantages:
- high labor costs and time;
- part of the materials most likely purchased;
- chasing cheapness the homemaker usually dramatically reduces quality - buys cheap cover material, poorly seals joints, does not optimally construct and ventilates the structure incorrectly.

Compromise (it is often the best) option: produce yourself, but a reliable design can be created only on the basis of purchased materials.
How to make a simple greenhouse with your own hands?
Having decided on architectural solutions, materials, prices, choose the option. To reinforce the theory, it is advisable to consult a neighbor, watch a video tutorial.
Dimensioning
The width of the greenhouse for tomatoes is dictated by:
- sufficient tall,
- a passage in the middle (since the height allows)
- convenience - To easily reach the plants under the wall.
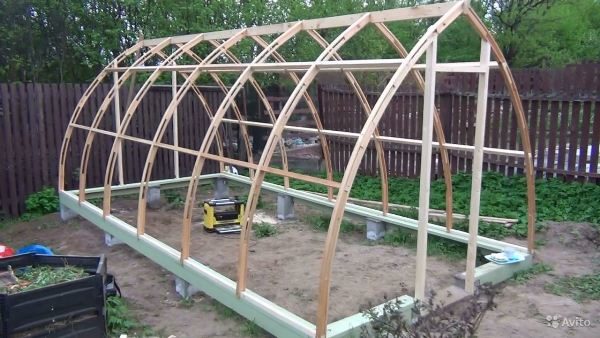
To make a simple film tunnel greenhouse, they take a 6-meter pipe, bending and inserting each of the pins stuck in the ground, not fully dressed. More winning option: pipes, for example polypropylene, are connected with a knee of 3 m, or, better, 3.5 m. (southern slope) x 2.5 m. (northern slope), building in several spans connected by tubular arches.
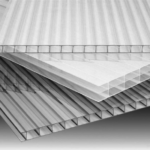
For polycarbonate construction, one-piece standard sheets are available. 210 cm and length 6 or 12 meters. Polycarbonate easily bends semi-arch (that is, a full arch of two sheets). It is well cut, but quickly deteriorates if the edges are not sealed. Polycarbonate is best immediately tightly inserted into the frame and sealed.
Glass greenhouses from window frames are popular. But the multi-colored shutters, partially assembled without boxes, are hard to customize. The greenhouse opens from the bottom, and such folding shutters should go in a row or be interrupted by the minimum width of the inserts. And the fracture of the roof requires adjustment. As a result, often the desired combination is selected from half of the frames.
The film is taken with a reserve on the area, estimating its additional expense on:
- powdered earth not folding parts;
- gateways - around the folding bar, parts of the frame, under the nail bar;
- reserve reserve at breakage by wind.
Necessary materials
Used construction elements:
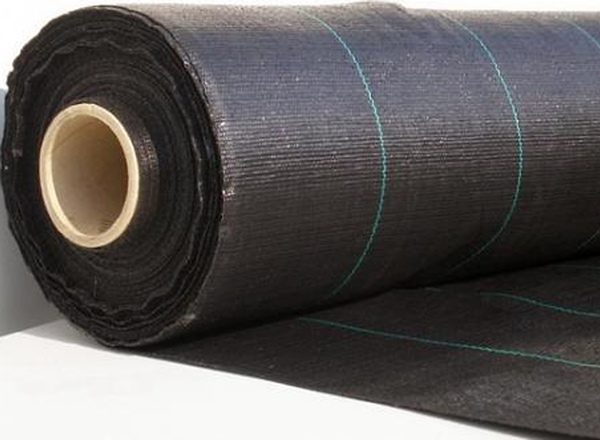
- Light penetrating coatings among them polyethylene - PE, polyvinyl chloride - PVC, ethylene vinyl acetate - EVA, polyisopropylene - PP. PP agrofiber is an expensive but excellent material: it diffuses light (enhancing the greenhouse effect),it lets in water (there is no “sweat”), selectively lets in gases (airing is not required), retains heat well, resistant to wind, sun and rain.
-

- Polyethylene

-
- Polyisopropylene

-
- Agrofibre
- Supporting elements - Often these are pipes, mounted on pins stuck into the ground, covered with a folding canopy. They are bent by an arc, and if you use two pipes connected by a knee, then an arch. Other options - frames or frames (glazed or polycarbonate), opening for ventilation, as well as wood (it is treated with suitable water-repellent agent).
In addition to structural materials, do not forget about biofuels and a pit for it.
Installation steps
Materials are prepared ahead of time, starting with the pit for biofuels and for external heating, if provided.
The sides of the pit, avoiding sprinkling, enclose an improvised foundation of planks, improvised or purchased sheet material. You can, of course, make a capital foundation, but this is already a greenhouse.
So,
- having prepared construction materials, begin installation of transverse structures (inserting plastic or glass, if provided);
- then add longitudinal reinforcing elements;
- on the open end have a canopy with zippers, a door;
- stretching the film or nonwoven material;
- at last - powdered edges, thermal insulation of the north side.
For smoothing temperature drops and gas concentrations, it’s practical dig in the tank at the far end of the facility. For example, a 200 liter metal barrel with water (it is convenient to spend a little on watering). Or, a passage in the middle is formed of lying plastic bottles of water.
As we see greenhouse farming is a reliable basis for high-yield tomatoes. And it is available even for a beginner gardener. Good harvest!